Minolta SRT 101 Instruction Manual: A Comprehensive Guide
The Minolta SRT 101 is a classic 35mm SLR camera renowned for its robust build and intuitive design. This guide offers a comprehensive overview of using the camera, drawing from available manuals and resources. It covers everything from basic operation to troubleshooting, ensuring a fulfilling photographic experience.
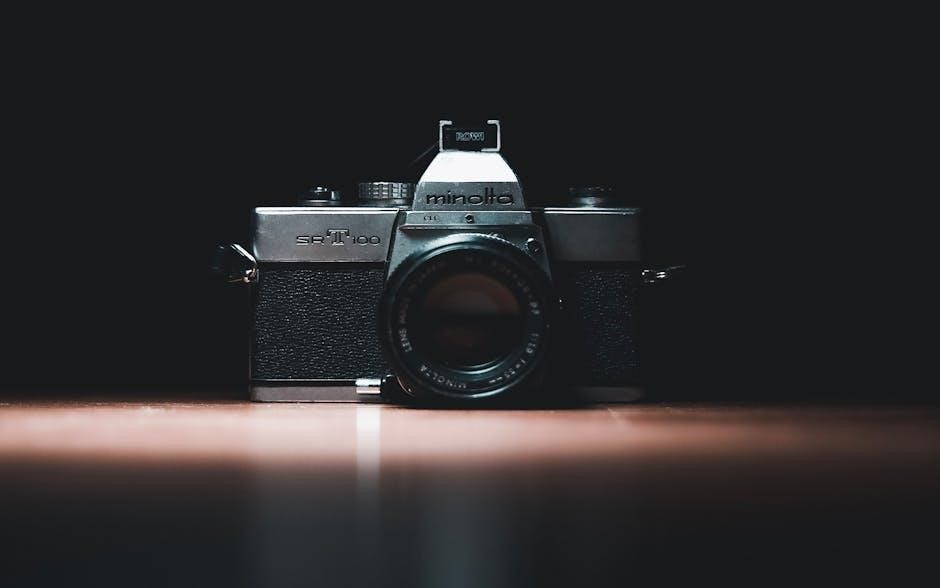
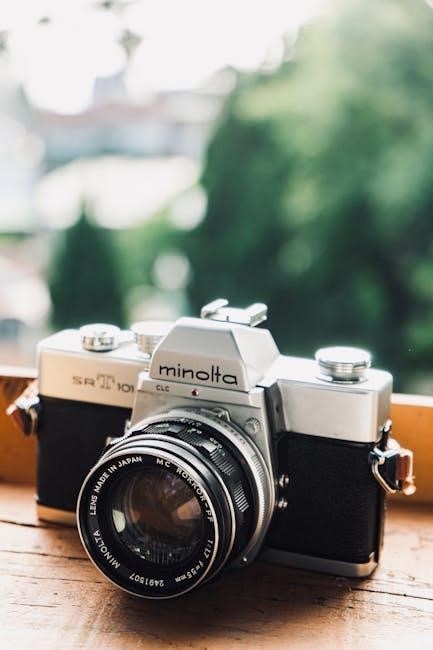
The Minolta SRT 101 stands as a testament to classic camera design, representing a pivotal moment in the evolution of 35mm single-lens reflex (SLR) cameras. Introduced in the mid-1960s, the SRT 101 quickly gained popularity among both amateur and professional photographers for its reliability, ease of use, and advanced features.
This camera is often compared to other iconic models like the Canon FT(b) and Nikon Nikkormat, solidifying its status as a benchmark in the industry. Its robust construction ensures durability, while its intuitive controls make it accessible to beginners. At the same time, the SRT 101 offers a range of features that appeal to experienced photographers seeking a dependable and versatile tool.
One of the key innovations of the Minolta SRT 101 is its through-the-lens (TTL) metering system, which allows for accurate exposure readings directly from the viewfinder. This feature, combined with Minolta’s Contrast Light Compensator (CLC) meter, ensures well-exposed images in a variety of lighting conditions. The SRT 101 uses a 1.35V mercury battery to power its light meter, although alternatives can be used today.
This instruction manual aims to provide a comprehensive guide to understanding and operating the Minolta SRT 101, helping users unlock its full potential and capture stunning photographs.
Key Features of the Minolta SRT 101
The Minolta SRT 101 boasts several key features that contributed to its popularity and lasting legacy. Central to its appeal is the CLC (Contrast Light Compensator) metering system, a groundbreaking innovation that measures light through the lens (TTL), ensuring accurate exposure even in challenging lighting conditions. The CLC system uses two CdS cells positioned on the focusing screen to provide an average reading, minimizing the impact of high-contrast scenes.
Another notable feature is the bright viewfinder, offering a clear and detailed view of the scene. The viewfinder displays essential information, including the selected shutter speed and aperture, allowing photographers to make quick adjustments without taking their eye off the subject. The SRT 101 also features a microprism focusing aid in the center of the viewfinder, simplifying the process of achieving sharp focus.
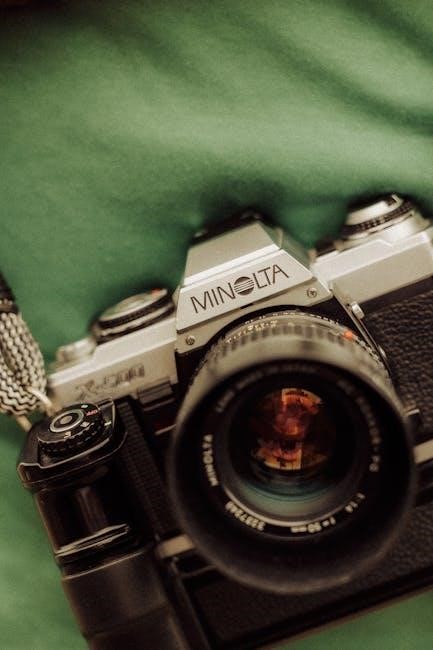
The camera supports a wide range of interchangeable lenses, providing versatility for various photographic styles. Its robust mechanical design ensures reliability and durability, making it a dependable choice for both amateur and professional photographers. The SRT 101 offers a shutter speed range from 1 second to 1/1000th of a second, plus bulb mode, accommodating diverse shooting scenarios.
Furthermore, the inclusion of a self-timer adds convenience, allowing photographers to include themselves in group shots or capture long-exposure images without a cable release.
Loading Film into the Minolta SRT 101
Loading film into the Minolta SRT 101 is a straightforward process, but it’s crucial to follow the steps carefully to avoid light leaks or film damage. First, ensure the camera is wound and ready to advance. Open the camera back by lifting the film rewind knob and pulling it upwards. This will release the latch and allow the back to swing open.
Next, insert the film cartridge into the film chamber on the left side of the camera. Push the rewind knob back down to secure the cartridge. Pull the film leader across the back of the camera and insert it into one of the slots on the take-up spool. Advance the film using the film advance lever until the sprocket holes on the film align with the teeth on the film transport sprockets.
Close the camera back, ensuring it clicks shut securely. Advance the film twice, or until the frame counter shows “1”. This will move past the exposed film leader. Set the ISO dial on the camera to match the ISO of the film you are using. You are now ready to start shooting.
Remember to avoid loading or unloading film in direct sunlight, as this can fog the film. If you encounter any resistance while advancing the film, double-check that the film is properly engaged with the take-up spool.
Setting the Exposure with the CLC Meter
The Minolta SRT 101 features a unique CLC (Contrast Light Compensator) metering system, which helps to provide accurate exposure even in challenging lighting conditions. To use the CLC meter, first, ensure the camera has a working battery installed. The battery powers the meter, which is essential for proper exposure.
Look through the viewfinder and you’ll see a needle and a small circle. The goal is to align the needle with the circle by adjusting either the shutter speed or the aperture. The shutter speed is adjusted using the dial on top of the camera, while the aperture is adjusted using the aperture ring on the lens.
Point the camera at your subject and observe the position of the needle. If the needle is above the circle, it indicates overexposure, meaning too much light is entering the camera. To correct this, either increase the shutter speed (e.g., from 1/60 to 1/125) or decrease the aperture (e.g., from f/2.8 to f/4). Conversely, if the needle is below the circle, it indicates underexposure, meaning not enough light is entering the camera. To correct this, either decrease the shutter speed or increase the aperture.
Once the needle is aligned with the circle, the exposure is correctly set. Take the shot. With practice, setting the exposure with the CLC meter becomes second nature.
Using Different Lenses with the SRT 101
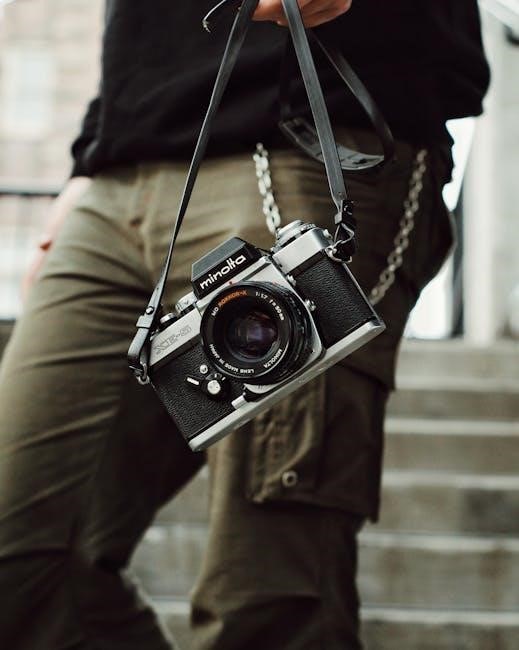
The Minolta SRT 101’s versatility stems in part from its compatibility with a wide range of Minolta SR mount lenses. This allows photographers to adapt to various shooting situations, from wide-angle landscapes to telephoto portraits. Changing lenses on the SRT 101 is a straightforward process.

First, ensure the camera is powered off to prevent any accidental exposure or damage. Locate the lens release button on the camera body, usually positioned near the lens mount. Press and hold this button while gently twisting the lens counterclockwise (when viewed from the front of the camera). The lens should detach easily.
To attach a new lens, align the red dot or indicator on the lens with the corresponding mark on the camera body’s lens mount. Push the lens gently towards the camera body and twist it clockwise until it clicks into place. Ensure the lens is securely attached before use.
The SRT 101 supports both MC and MD lenses. MC lenses are earlier versions, while MD lenses offer additional features like program mode compatibility on later Minolta bodies (though not on the SRT 101). When using different lenses, remember to adjust your exposure settings accordingly, as each lens may have different aperture ranges and characteristics. Experiment with different lenses to explore creative possibilities.
Battery Information and Replacement
The Minolta SRT 101 relies on a battery to power its light meter, which is crucial for accurate exposure readings. The original SRT 101 used a 1.35V mercury battery (PX625 or similar). However, mercury batteries are no longer readily available due to environmental concerns. Modern alternatives are needed to ensure the meter functions correctly.
One common solution is to use a 1.5V silver oxide battery (SR44 or LR44). While these batteries provide a slightly higher voltage, they can often be used with minimal impact on exposure accuracy. Alternatively, you can use a WeinCell MRB625, which is a zinc-air battery designed as a direct replacement for the original mercury battery. These batteries provide the correct voltage but have a shorter lifespan once activated.
To replace the battery, locate the battery compartment, usually found on the bottom of the camera. Use a coin or screwdriver to open the compartment. Remove the old battery and insert the new one, ensuring correct polarity. The positive (+) side should face outwards. Close the compartment securely.
After replacing the battery, check the meter’s functionality. Point the camera at a well-lit scene and observe the meter needle’s response. If the meter appears inaccurate, consider adjusting the ISO setting slightly to compensate for the voltage difference or using a handheld light meter for more precise readings.
Troubleshooting Common Issues
The Minolta SRT 101, while robust, can sometimes encounter issues. A common problem is an unresponsive light meter. First, ensure the battery is fresh and correctly installed. Clean the battery contacts with a cotton swab and isopropyl alcohol. If the meter remains inactive, the issue might be a faulty switch or internal wiring, requiring professional servicing.
Another frequent concern is a sticky or unresponsive shutter. This can often be attributed to old lubricants that have hardened over time. Try gently exercising the shutter at various speeds. If the problem persists, a CLA (Clean, Lubricate, and Adjust) service is recommended. Avoid forcing the shutter, as this could cause further damage.
Film advance problems can also occur. Check that the film is loaded correctly and that the take-up spool is securely in place. Ensure that the rewind knob turns when advancing the film. If the film advance lever feels stiff, inspect the gears for any obstructions. A professional repair may be necessary for complex mechanical issues.
Finally, check the lens mount for debris or damage if you experience focusing problems. Clean the lens and body contacts. If focusing remains difficult, the lens itself might need servicing. By addressing these common issues systematically, you can often restore your SRT 101 to optimal working condition.
Service Manual Overview
The Minolta SRT 101 service manual is an invaluable resource for technicians and experienced users aiming to repair or maintain their camera. Unlike the user manual, which focuses on operation, the service manual provides detailed instructions on disassembly, repair, and calibration procedures.

Typically, a service manual includes exploded diagrams illustrating the camera’s internal components and their relationships. These diagrams are crucial for understanding how the camera functions and for identifying specific parts that need replacement. The manual also contains step-by-step instructions for disassembling and reassembling various camera sections, such as the top cover, bottom cover, and lens mount.
Furthermore, the service manual specifies the correct tools and lubricants required for servicing the SRT 101. It provides information on adjusting the shutter speed, light meter, and other critical settings to ensure accurate performance. Calibration procedures are often included to fine-tune the camera’s operation after repairs.
Accessing a Minolta SRT 101 service manual, often available as a PDF download, empowers users to tackle complex repairs. However, it is essential to exercise caution and have the necessary skills before attempting any repairs. Incorrect procedures can lead to further damage, so professional assistance is recommended for those lacking experience.
Available Online Resources for Manuals
Finding manuals for vintage cameras like the Minolta SRT 101 is easier than ever, thanks to numerous online resources. Several websites specialize in hosting digitized versions of user manuals and service manuals, offering a wealth of information at your fingertips.
Many dedicated camera enthusiast sites provide free downloads of Minolta SRT 101 manuals in PDF format. These sites often have extensive libraries covering various camera models, making it a convenient one-stop shop for your documentation needs. Online forums dedicated to classic cameras are another valuable source. Members frequently share manuals and offer assistance in locating hard-to-find documents.
Retail websites specializing in vintage cameras or photographic equipment sometimes offer manuals for sale, either as physical copies or digital downloads. While these may come at a cost, they often provide higher-quality scans or professionally reproduced versions. Be sure to check the seller’s reputation and ensure the manual is compatible with your specific SRT 101 model.
When searching for manuals online, be specific with your search terms, including the camera model (Minolta SRT 101) and the type of manual you need (user manual, service manual, parts list). Always download manuals from reputable sources to avoid malware or incorrect information. With a bit of searching, you can readily access the manual you need to enhance your SRT 101 experience.
Maintenance and Care Tips
Proper maintenance is crucial for ensuring your Minolta SRT 101 continues to function optimally for years to come. Regular cleaning is essential. Use a soft, lint-free cloth to wipe down the camera body and lens surfaces, removing dust and fingerprints. For stubborn smudges on the lens, use a dedicated lens cleaning solution and tissue.
Protect your SRT 101 from moisture and extreme temperatures. Store it in a cool, dry place when not in use. If you suspect the camera has been exposed to moisture, dry it thoroughly before storing it. Periodically check the battery compartment for corrosion and clean it if necessary.
The lens is a delicate component, so handle it with care. Avoid touching the lens surface with your fingers. When changing lenses, do so in a clean environment to prevent dust from entering the camera body. Have your SRT 101 professionally serviced periodically to ensure all mechanical parts are properly lubricated and functioning correctly. A qualified technician can also identify and address any potential issues before they become major problems.
By following these maintenance and care tips, you can extend the lifespan of your Minolta SRT 101 and enjoy its reliable performance for many years.